You've picked up a disc, flipped it over, and seen those four mysterious numbers stamped on the bottom. Maybe it says 12/5/-1/3 and you're thinking, "Cool, but what does that actually mean?" You're not alone. Having disc golf flight numbers explained clearly is one of the most common requests from newer players — and honestly, even experienced players get tripped up by some of the nuances.
Those four numbers are the flight rating system, and once you understand them, choosing the right disc stops being a guessing game and starts feeling like a superpower. Let's break the whole thing down.
What Are Disc Golf Flight Numbers?
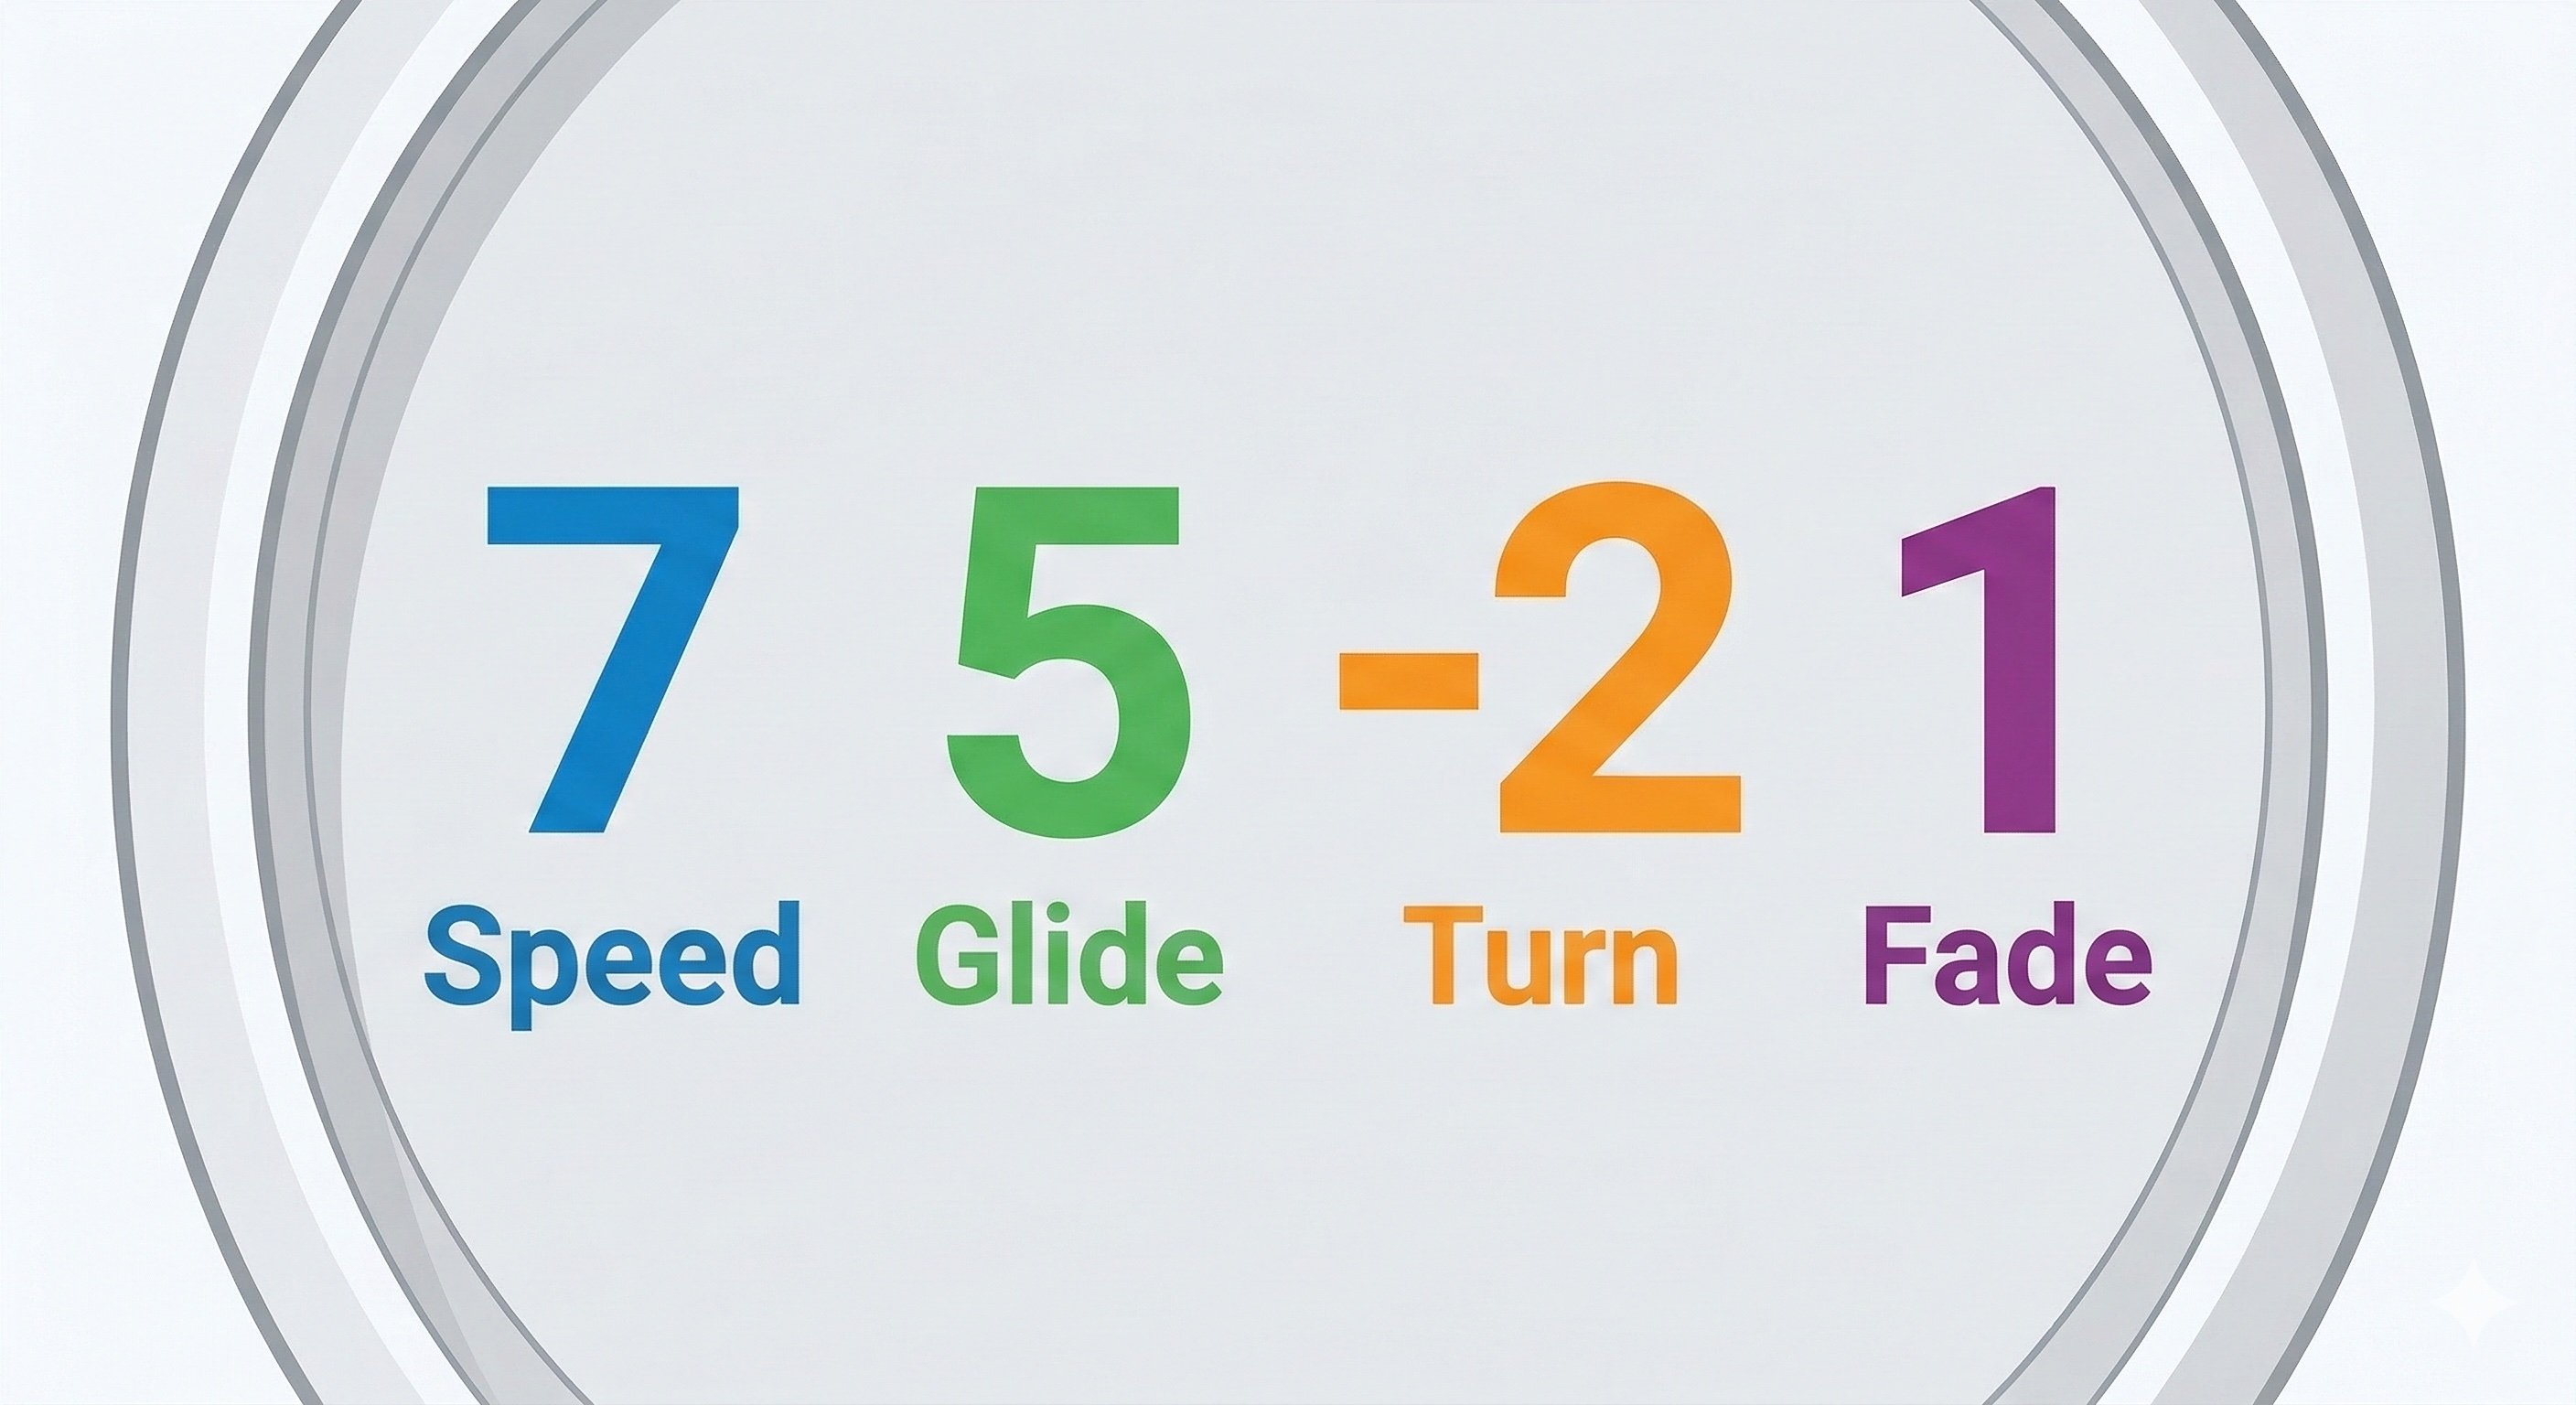
Flight numbers are a standardized four-number rating system that describes how a disc is expected to fly. Introduced and popularized by Innova in the early 2000s, this system has been adopted by virtually every disc manufacturer. The four numbers represent, in order:
Speed / Glide / Turn / Fade
Think of them as a shorthand flight profile. They won't tell you exactly how a disc will fly for you — your arm speed, release angle, and throwing form all matter — but they give you a reliable starting point for comparing discs and predicting behavior.
Here's the key thing: these numbers describe how a disc flies when thrown flat with the appropriate power. That's an important caveat we'll come back to.
Speed: It's Not What You Think
What Speed Actually Means
Range: 1–14
Speed is the single most misunderstood flight number in disc golf. Most beginners see a Speed 13 disc and think, "That one goes the farthest." Nope.
Speed refers to how fast the disc needs to be thrown to achieve its intended flight path. A higher speed number means the disc has a sharper, more aerodynamic edge — a narrower nose profile — designed to cut through the air at higher velocities. It does not mean the disc magically flies faster or farther.
Speed Ranges in Practice
- Speed 1–3: Putters. Blunt noses, designed for controlled, short-range throws. Think Aviar (2/3/0/1) or Judge.
- Speed 4–5: Midranges. Slightly sharper edges, great for approaches and shorter fairway shots. The Buzzz (5/4/-1/1) lives here.
- Speed 6–8: Fairway drivers. The sweet spot for a lot of players. Teebird (7/5/0/2), Leopard (6/5/-2/1).
- Speed 9–11: Control drivers. More distance potential but demanding cleaner form. Thunderbird, Valkyrie.
- Speed 12–14: Distance drivers. Wide-rimmed, fast, and unforgiving. Destroyer (12/5/-1/3), Nuke, Zeus.
Why Higher Speed Isn't Better for Beginners
Here's the truth that'll save you months of frustration: if you can't generate enough arm speed to reach a disc's speed rating, it won't fly like the numbers say. A Speed 13 Destroyer thrown at Speed 9 arm speed will hyzer out hard, dump left (for RHBH), and land shorter than a well-thrown Speed 7 Teebird.
It's like putting a Ferrari engine in a car but never getting out of second gear. You're better off driving the car that matches your current ability.
Start slower. Seriously. A Speed 6-7 fairway driver with the right flight numbers will outperform a high-speed driver you can't fully power every single time.
Glide: The Distance Multiplier
What Glide Actually Means
Range: 1–7
Glide describes the disc's ability to maintain loft during flight. High glide means the disc wants to stay in the air longer; low glide means it comes down faster.
This is the flight number that most directly affects distance for the average player. A disc with high glide is more forgiving — it'll carry even when you don't get a perfect rip on it. Low glide discs are more about control and fighting wind.
Glide Ranges in Practice
- Glide 1–2: Very low. Specialty discs, approach discs designed to sit down fast. The Berg (1/1/0/2) is the poster child — a fan-favorite putter that refuses to glide past the basket. The Pig (3/1/0/3) is another classic low-glide approach disc.
- Glide 3–4: Moderate. Predictable, workable. Most midranges and putters sit here. The Zone (4/3/0/3) and Harp (4/3/0/3) are popular overstable approach discs in this range.
- Glide 5–6: High. Distance-friendly, great for maximizing footage. The Leopard (6/5/-2/1) is a classic high-glide disc that carries beautifully with moderate arm speed.
- Glide 7: Exceptionally floaty. Rare, and often tricky in the wind. The River (7/7/-1/1) is the prime example — maximum float.
Why Glide Matters More Than Speed
For recreational and intermediate players, a high-glide disc at a manageable speed will nearly always outperform a low-glide disc at a higher speed. The Leopard at 6/5/-2/1 is a perfect example — it's "only" Speed 6, but that Glide 5 paired with some turn means it carries beautifully with moderate arm speed. It's the reason the Leopard is one of the most recommended discs for newer players.
Turn: The Early Flight Movement
What Turn Actually Means
Range: -5 to +1
Turn describes what the disc does during the first half of its flight — the high-speed portion. For a right-hand backhand (RHBH) throw:
- Negative turn numbers (-1, -2, -3, etc.) mean the disc turns to the right during the high-speed phase. More negative = more rightward movement.
- Zero turn means the disc flies relatively straight out of the hand.
- Positive turn (+1) means the disc resists turning even in a headwind. Very overstable.
Turn is sometimes called "high-speed stability." A disc with a lot of turn (-3 or more) is called "understable." A disc with 0 or +1 turn is "overstable" in the high-speed phase.
Turn Ranges in Practice
- Turn +1 to 0: Overstable. Resists turning, reliable in wind. Firebird (9/3/0/4), Teebird (7/5/0/2), Roc3 (5/4/0/3).
- Turn -1: Slightly understable. Gentle turn, then fade. Great all-around. A Buzzz (5/4/-1/1) has just a touch of turn.
- Turn -2 to -3: Understable. Noticeable rightward movement, great for turnovers, rollers, or players building arm speed. Leopard (6/5/-2/1), Sidewinder (9/5/-3/1).
- Turn -4 to -5: Very understable. Flips easily, great for rollers or low-power throwers who need the disc to fight back against natural fade. Roadrunner (9/5/-4/1).
How Turn Feels on the Course
When you throw a disc with -2 turn, here's what you'll see: the disc leaves your hand flat, and as it reaches peak speed, it gently drifts to the right (RHBH). If you have enough arm speed, the disc will then slow down and fade back left at the end of its flight.
That rightward-then-leftward S-curve is one of the most beautiful and useful shots in disc golf.

Fade: The Final Chapter
What Fade Actually Means
Range: 0–5
Fade is the disc's behavior at the end of its flight — the low-speed phase. For RHBH throwers, fade always hooks the disc to the left as it slows down. Every disc fades to some degree; this number tells you how aggressively.
- Fade 0: Almost no hook at the end. The disc just sort of floats down. Very straight finish.
- Fade 1–2: Moderate fade. Reliable, predictable finish. The bread and butter for most players.
- Fade 3–4: Strong fade. Hard hook left at the end. Great for dogleg lefts, forehand approaches, utility shots.
- Fade 5: Meat hook. The disc is practically turning 90 degrees at the end. Specialty overstable discs like the Tilt.
Why Fade Is Your Friend
Fade is the most consistent of the four numbers. While turn depends heavily on your arm speed, release angle, and wind, fade happens every time as the disc slows down. That's why overstable discs (high fade) are popular for approach shots — you can predict exactly where the disc will finish.
An Innova Firebird at 9/3/0/4 is the poster child. Throw it flat, it'll fight right the entire way and dump hard left at the end. Throw it into a headwind, and it handles it like a champ. That's reliability.

How the Four Numbers Work Together
This is where it all clicks. The individual numbers matter, but the interaction between them is what defines a disc's personality.
Reading a Flight Number Combo: Real Examples
Innova Destroyer — 12/5/-1/3 Speed 12 means you need serious arm speed. Glide 5 means it'll carry. Turn -1 gives it a slight turn at speed. Fade 3 brings it back with authority. For a big arm, this disc goes far and finishes reliably left. For most recreational players, the -1 turn never activates and it just fades hard left the whole way.
Discraft Buzzz — 5/4/-1/1 Speed 5 means almost anyone can power it up. Glide 4 keeps it in the air. Turn -1 gives it just a kiss of turn. Fade 1 brings it back gently. The result? A dead-straight flight that holds any line you put it on. This is why the Buzzz is many players' favorite disc, period.
Innova Leopard — 6/5/-2/1 Speed 6 is easy to throw. Glide 5 gives it float. Turn -2 means a nice right turn at speed. Fade 1 is gentle. For average arms, this disc flies with a beautiful sweeping right-to-straight flight. For bigger arms, it becomes a turnover machine or roller disc. It grows with you.
Innova Teebird — 7/5/0/2 Speed 7 fairway driver. Glide 5 for carry. Turn 0 means no high-speed turn — it stays on its line. Fade 2 gives a reliable left finish. This is the workhorse. Point it where you want it to go, throw it flat, and it gets there with a gentle fade at the end. One of the most popular discs in the history of the sport for a reason.

The Overstable vs. Understable Spectrum
A quick framework:
- Overstable discs: Low or zero turn, high fade. Fight left (RHBH). Wind-resistant. Predictable. Examples: Firebird (9/3/0/4), Zone (4/3/0/3).
- Neutral/Stable discs: Slight turn, moderate fade. Straight flyers. Examples: Buzzz (5/4/-1/1), Mako3 (5/5/0/0).
- Understable discs: High turn, low fade. Turn right (RHBH), gentle finish. Great for beginners and shot-shaping. Examples: Leopard (6/5/-2/1), Sidewinder (9/5/-3/1), Gorgon (10/6/-2/1).
Common Flight Number Misconceptions
Let's bust some myths that trip up nearly every new player.
"I Need High-Speed Drivers to Throw Far"
No. You need proper form and a disc that matches your arm speed. A cleanly thrown Leopard will outdistance a muscled Destroyer for probably 80% of recreational players. Distance comes from technique and spin, not disc speed ratings.
"Flight Numbers Are Universal and Exact"
Not quite. Different manufacturers use slightly different scales. An Innova Speed 9 might feel different than a Discraft Speed 9 or a Kastaplast Speed 9. Also, plastic type, wear, and dome all affect the actual flight. Flight numbers are a guide, not a GPS coordinate.
"Understable Discs Are Only for Beginners"
Pros throw understable discs all the time. A well-placed turnover with an understable disc is one of the most valuable shots in competitive disc golf. Understable means a specific flight shape — not "easy mode."
"All Discs of the Same Mold Fly the Same"
Run variations, plastic types, and wear all create meaningful differences. A brand-new Champion Teebird will be more overstable than a beat-in DX Teebird. Premium plastics hold their stability longer; base plastics beat in and become more understable over time. That's actually a feature, not a bug — a well-seasoned disc is a beautiful thing.
Building a Balanced Bag Using Flight Numbers
Now let's put this knowledge to work. A well-built bag covers the flight spectrum — you want options for left-finishing shots, straight shots, and right-finishing shots (RHBH) at multiple distances.
A Starter Framework
Putters (Speed 2-3):
- One stable/overstable for putting (Aviar, Judge, Luna)
- One stable for throwing and approaches (Envy, Zone)
Midranges (Speed 4-5):
- One straight/neutral (Buzzz 5/4/-1/1 or Mako3 5/5/0/0)
- One overstable for windy approaches (Roc3 5/4/0/3, Verdict)
Fairway Drivers (Speed 6-9):
- One understable for turnovers and easy distance (Leopard 6/5/-2/1)
- One stable workhorse (Teebird 7/5/0/2)
- One overstable for wind and skip shots (Firebird 9/3/0/4)
Distance Drivers (Speed 10+) — only when your arm is ready:
- One understable for max distance (Gorgon 10/6/-2/1, Hades)
- One stable (Wraith 11/5/-1/3)
- One overstable utility (Destroyer 12/5/-1/3, or a beefy one)
The Golden Rule of Bag Building
Look at your flight numbers across all your discs. If every disc in your bag has Fade 3+ and Turn 0, you're going to have a hard time shaping lines to the right. If everything is -3 turn, you'll struggle in headwinds. Balance is the point. You want a spread across the stability spectrum at each speed tier.
How to Actually Use Flight Numbers on the Course
Here's a practical approach:
- Assess the shot shape you need. Dogleg left? Straight tunnel? Sweeping right turn?
- Pick the stability that matches. Left finish = overstable. Straight = neutral. Right shape = understable.
- Choose the speed tier for the distance. Don't reach for a driver when a midrange covers it.
- Factor in conditions. Headwind makes discs more understable (disc up in stability). Tailwind does the opposite.
Flight numbers make this systematic. Instead of "I think my blue disc goes right," you know "my Leopard at -2 turn will hold a turnover line for 250 feet."
Track Your Flight Numbers with DiscPile
Here's the thing about flight numbers — they're most useful when you can see your entire collection at a glance. What flight profiles do you have covered? Where are the gaps? Which discs overlap?
That's exactly what DiscPile is built for. Add your discs, and you can instantly see the flight numbers across your whole bag, compare profiles, and figure out what you actually need versus what you just want (we won't judge the "want" pile — we've all been there).
Whether you're a one-bag minimalist or a 400-disc collector, knowing your flight numbers is knowing your game. Start tracking your collection today and take the guesswork out of disc selection.